Delicious Oreo White Chocolate Chip Bars & Milk Pairing: Step-by-Step Guide
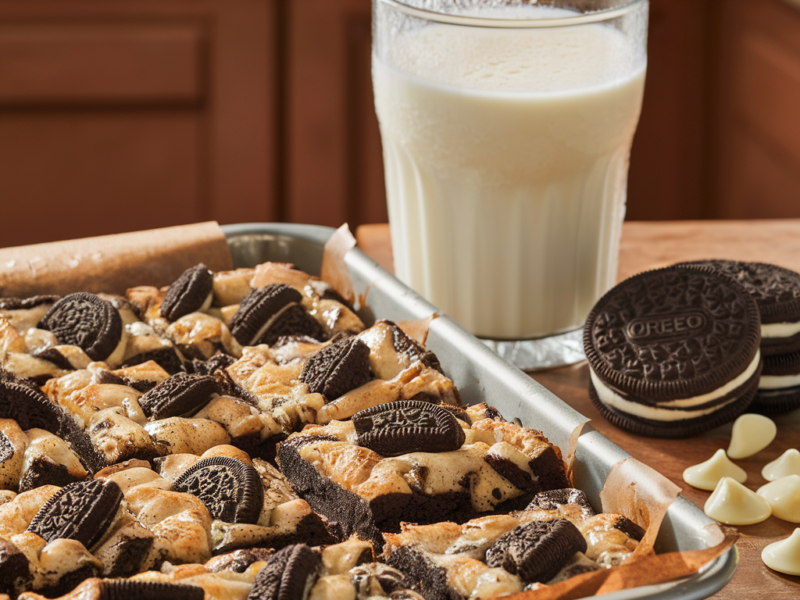
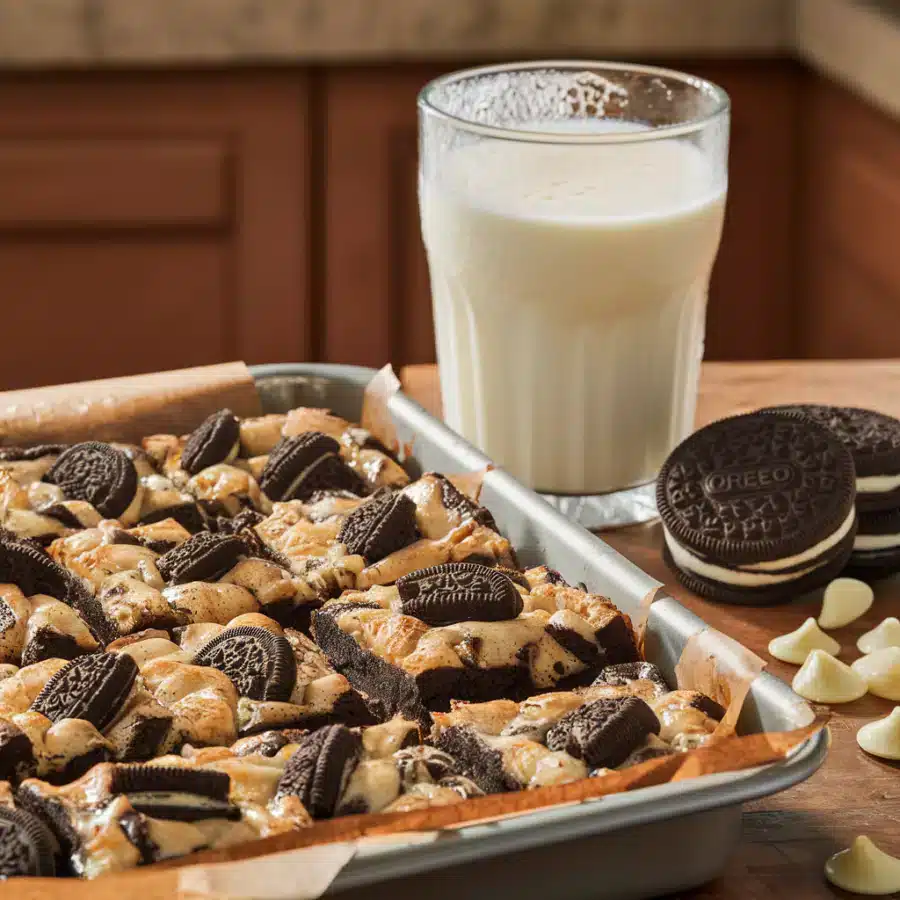
When it comes to indulgent desserts, few things compare to the comforting combination of Oreo White Chocolate Chip Bars paired with a big, cold glass of milk. This heavenly duo is perfect for satisfying sweet cravings while offering a delightful mix of textures and flavors. In this guide, we will dive into the details of making these delicious bars, explore variations, and offer expert tips to ensure your dessert turns out perfectly every time.
To make these scrumptious Oreo White Chocolate Chip Bars, you’ll need the following ingredients:
- 2 eggs
- 245g salted butter (melted)
- 155g brown sugar
- 65g granulated sugar
- 1 tablespoon vanilla extract
- 1/2 teaspoon salt
- 1/2 teaspoon baking soda
- 340g all-purpose flour
- 75g white chocolate chips
- 15 crushed Oreo pieces
- 8 crushed Oreo pieces for topping
The Allure of Oreo White Chocolate Chip Bars
There’s something truly magical about combining the rich taste of Oreo cookies with the creamy sweetness of white chocolate. These bars are not just a treat; they’re a celebration of everything we love about desserts. The contrast between the crunchy Oreo pieces and the melt-in-your-mouth white chocolate creates a sensory experience that’s hard to resist. And when paired with a big glass of milk, these bars reach a level of indulgence that is simply unparalleled.
For more creative ways to enjoy Oreo-based desserts, check out this Creative Oreo Dessert Recipes guide.
Essential Ingredients for Oreo White Chocolate Chip Bars
To create the perfect Oreo White Chocolate Chip Bars, you’ll need a few key ingredients. Here’s what you’ll need:
- Oreo Cookies: The star of the show. You can use classic Oreos, but feel free to experiment with different flavors like mint or double-stuffed.
- White Chocolate Chips: Choose high-quality white chocolate for the best results.
- Unsalted Butter: Using unsalted butter allows you to control the amount of salt in the recipe.
- Granulated Sugar and Brown Sugar: These add sweetness and contribute to the chewy texture of the bars.
- Eggs: Eggs help to bind the ingredients together and add richness to the bars.
- Vanilla Extract: Adds a subtle flavor that enhances the overall taste of the bars.
- All-Purpose Flour: The base of the dough, providing structure to the bars.
- Baking Powder: Helps the bars rise slightly, giving them a nice texture.
- Salt: Enhances the flavors of the other ingredients.
Step-by-Step Recipe Instructions
Making Oreo White Chocolate Chip Bars is a straightforward process that doesn’t require much time or complicated techniques. Follow these steps for perfect bars every time.
1. Prepare Your Ingredients
Start by gathering all your ingredients and preheating your oven to 350°F (175°C). Line a baking pan with parchment paper, leaving some overhang for easy removal later. This step ensures that the bars won’t stick to the pan and makes cleanup a breeze.
2. Make the Dough
- Cream the Butter and Sugars: In a large mixing bowl, cream together the unsalted butter, granulated sugar, and brown sugar until the mixture is light and fluffy. This usually takes about 3-4 minutes.
- Add the Wet Ingredients: Beat in the eggs, one at a time, making sure each one is fully incorporated before adding the next. Add the vanilla extract and mix until combined.
- Combine Dry Ingredients: In a separate bowl, whisk together the flour, baking powder, and salt. Gradually add the dry ingredients to the wet ingredients, mixing until just combined. Be careful not to overmix, as this can make the bars tough.
- Fold in the Oreos and White Chocolate Chips: Gently fold in the crushed Oreo pieces and white chocolate chips until evenly distributed throughout the dough.
3. Bake the Bars
- Spread the dough evenly into the prepared baking pan. Use a spatula to smooth the top.
- Bake in the preheated oven for 18-25 minutes, or until a toothpick inserted into the center comes out clean. Be careful not to overbake; you want the bars to remain soft and chewy.
- Once baked, remove the pan from the oven and allow the bars to cool completely in the pan before cutting. This ensures they set properly and are easier to slice.
For tips on perfect baking techniques, visit Perfect Baking Techniques.
Serving Suggestions: Pairing with a Big Glass of Milk
The best way to enjoy these Oreo White Chocolate Chip Bars is with a big glass of cold milk. The milk’s creamy texture perfectly complements the rich, sweet bars, creating a balance that’s both satisfying and comforting.
For an added twist, consider serving the bars warm with a scoop of vanilla ice cream or a drizzle of melted white chocolate. You can also garnish the bars with a sprinkle of crushed Oreos or a dusting of powdered sugar for an extra touch of sweetness.
Creative Variations of Oreo White Chocolate Chip Bars
If you’re looking to switch things up, here are some creative variations you can try:
- Mint Oreo Bars: Substitute regular Oreos with mint-flavored Oreos for a refreshing twist.
- Double Chocolate Oreo Bars: Use a mix of white and semi-sweet chocolate chips for a richer, more indulgent flavor.
- No-Bake Oreo Bars: For a quicker option, try making no-bake bars using marshmallows and melted white chocolate. This variation is perfect for those who prefer a softer, gooier texture.
For more no-bake dessert ideas, check out this guide on No-Bake Oreo Marshmallow Bars.
Storage Tips for Oreo White Chocolate Chip Bars
Proper storage is key to maintaining the freshness and flavor of your Oreo White Chocolate Chip Bars. Here are some tips:
- At Room Temperature: Store the bars in an airtight container at room temperature for up to 3 days. This will keep them soft and chewy.
- In the Freezer: If you want to store the bars for longer, you can freeze them. Wrap each bar individually in plastic wrap, then place them in a freezer-safe bag or container. They can be frozen for up to 3 months. When ready to eat, thaw the bars at room temperature or warm them in the microwave for a few seconds.
Serving Suggestions for Special Occasions
These bars are perfect for special occasions, whether it’s a party, holiday gathering, or just a treat for yourself. Here are some ideas for making them even more special:
- Cut into Bite-Sized Pieces: For parties, consider cutting the bars into smaller, bite-sized pieces. This makes them easier to serve and eat.
- Layered Dessert Bars: Create a layered dessert by adding a layer of cream cheese frosting or peanut butter between the Oreo layer and the white chocolate chip layer.
- Holiday-Themed Bars: Customize the bars for holidays by adding colored sprinkles, edible glitter, or using themed Oreo flavors.
Frequently Asked Questions
- Can I use off-brand cookies instead of Oreos?
Yes, you can use off-brand cookies, but the flavor might be slightly different. Some people are loyal to the Oreo brand, but feel free to experiment with alternatives. - How do I know when the bars are done?
The bars are done when the edges are set, and a toothpick inserted into the center comes out mostly clean with a few crumbs attached. - Can I make these bars without a mixer?
Absolutely! While a mixer makes the process faster, you can mix the ingredients by hand. Just ensure the butter is softened, and take your time to cream the butter and sugars together. - Can I double the recipe for a larger crowd?
Yes, you can double the recipe and bake it in a larger pan. You may need to adjust the baking time slightly, so keep an eye on the bars as they bake. - What are some tips for making the bars less sweet?
To reduce the sweetness, consider using semi-sweet or dark chocolate chips instead of white chocolate. You can also cut back on the sugar in the dough by about 1/4 cup. - How long do the bars need to cool before they can be sliced?
It’s best to let the bars cool completely, which takes about 1-2 hours. This helps them set properly and makes slicing easier.
Conclusion
Oreo White Chocolate Chip Bars are a delightful treat that’s perfect for any occasion. Their combination of crunchy Oreos, creamy white chocolate, and chewy cookie dough creates a dessert that’s both comforting and indulgent. Whether you’re enjoying them with a big glass of milk or serving them at a party, these bars are sure to be a hit.
Try making them today, and don’t forget to share with friends and family. Happy baking!






Stunning. Can’t wait to make these thank you for your amazing instructions on how to make these Stunning bars